How to Reassign a Community To A New User (Staff)
Last updated: June 12, 2026
Communities can be reassigned between Corporate users. You can only reassign communities that you have permission levels for.
When you reassign communities, you will see an overview of all the settings that the community has with an option to make edits before transferring access.
This article will walk you through how to reassign a community and review its settings.
Note: Reassigning a community is permanent and cannot be undone. Use caution when reassigning communities.
Locate a Community
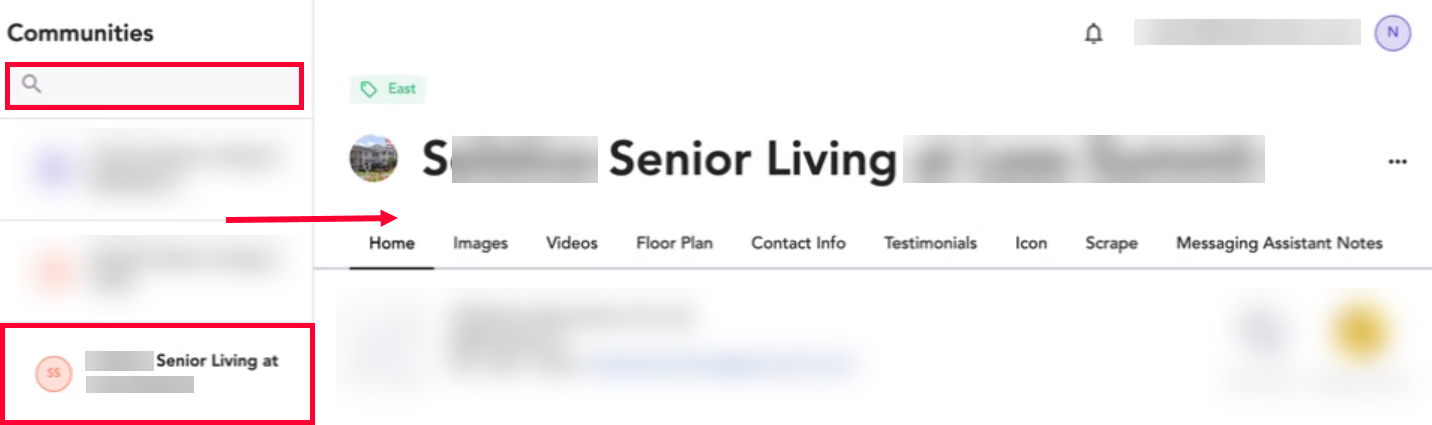
Select Communities in the left navigation.

Use the top search bar or scroll to find the desired community in the left panel. Click on the community to open it on the right.
Reassign a Community
Once you’ve selected a community, click the ellipsis (...) in the top right. Select Assign to a Different Client in the dropdown.

The Assign to a Different Client window will open.
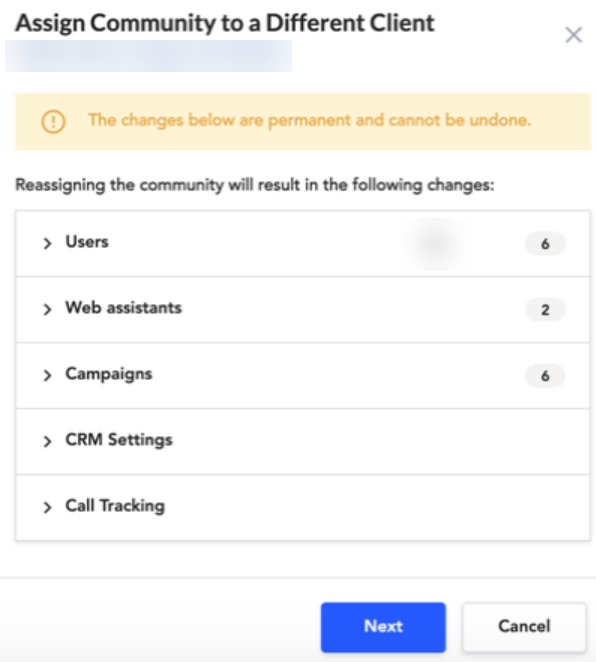
You can review the changes that will occur with the reassignment by clicking the dropdowns. For more information about the data, go through each of the dropdowns. If there are adjustments available, you will see the action to the right.

Note: The Web Assistant, Campaigns, and CRM data will be removed from a community when it is reassigned.
When you’re done, click Next.
Use the search bar or scroll to select the user you are reassigning the community to. When you’re done click Save.

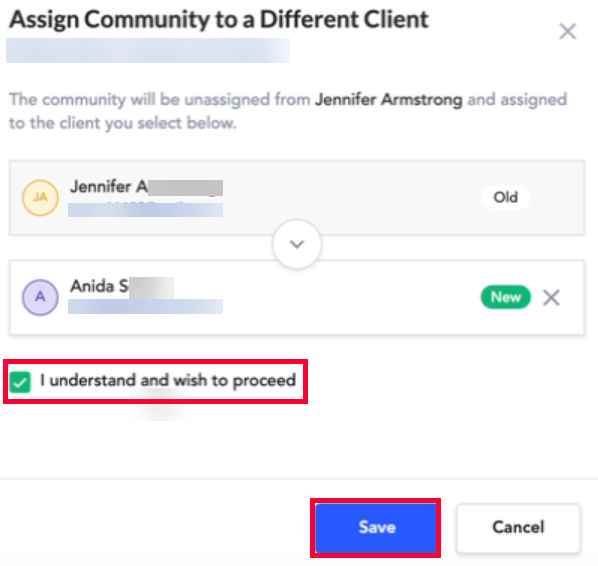
In the new window, review the change you're making. Check the box for I understand and wish to proceed and then click Save to finalize the transfer.